Inquiry
Form loading...

7 Tips for Choosing the Best Laser Lens

Choosing a laser lens is not a cosmetic detail. It affects focus size, working distance, beam quality, and the energy delivered to the material. A lens that looks suitable on a product page may perform poorly if its wavelength rating or coating does not match the laser. Small mismatches matter.

Laser physicist William T. Silfvast’s work on laser fundamentals supports a practical design principle: “Match the lens to the beam, wavelength, and task—not just the machine.” This is a concise way to frame the choice, rather than a verified verbatim quotation. The right Laser Lens depends on the complete optical setup. Consider wavelength, focal length, clear aperture, coating, material, and damage threshold together. Check the manufacturer’s specifications, too. A lens can be technically compatible yet still fall short of the application’s needs.

The seven tips ahead focus on decisions buyers can verify. You’ll see why a short focal length may create a tighter focus but reduce working distance, and why coatings can affect transmission. There are practical checks for power handling and lens compatibility. Look closely at your beam data. That step is easy to rush, and it can lead to an expensive mismatch. No single lens suits every laser or job. Even a careful choice deserves a final review against the equipment manual and supplier data.
7 Tips for Choosing the Best Laser Lens

Understanding the Role of a Laser Lens

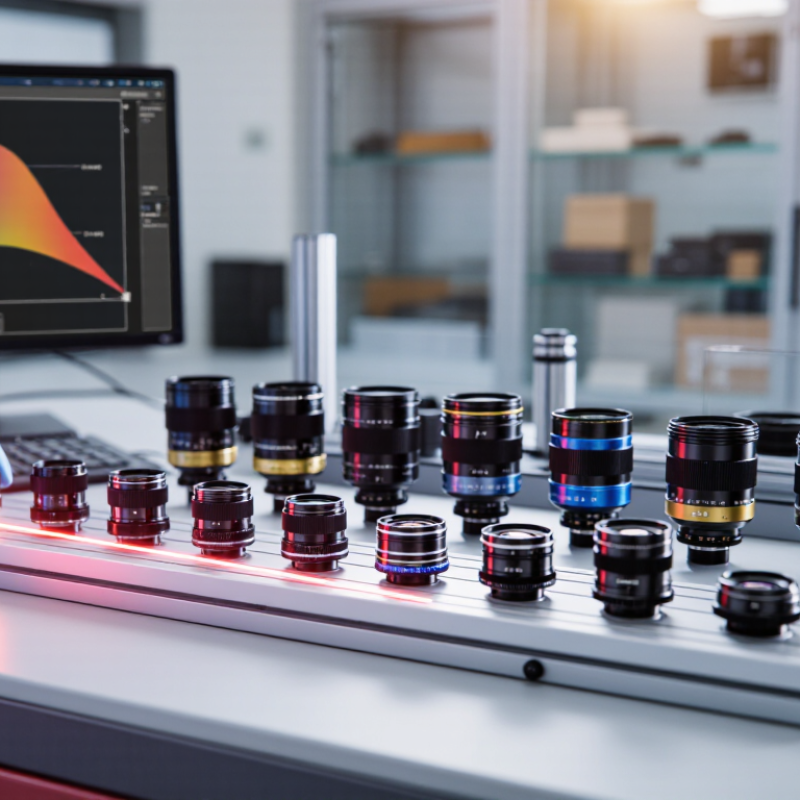
A laser lens shapes how a beam travels, focuses, or spreads. Its optical design helps determine spot size and working distance. A focusing lens can concentrate energy onto a small area, while a collimating lens keeps light rays nearly parallel. Small changes matter. Wavelength compatibility is essential because coatings and lens materials respond differently to different wavelengths. Focal length also affects the distance between the lens and the work surface. It is tempting to treat focal length as the whole decision, but that shortcut misses beam quality, alignment, and operating conditions.

Tips: Match the lens specification to the laser’s wavelength and power range. Check the clear aperture against the beam diameter. Consider focal length alongside the required working distance and spot size. Keep the lens clean; a fingerprint or speck of dust can absorb energy and cause local heating. Follow the equipment maker’s handling and cleaning guidance.

A suitable lens balances performance with the real setup, including mounting space and heat exposure. A shorter focal length may produce a tighter spot, but it can leave less room for focusing and positioning. Higher power can increase thermal demands, so confirm the lens is rated for the intended use. Inspect for scratches, residue, or a loose mount before relying on results. Even careful choices need testing. Measure the actual focus in the installed system, since alignment and beam properties can shift the result.


Matching Lens Specifications to the Laser

A laser lens should match the beam it will actually receive, not just the machine’s advertised power. Start with wavelength: a lens designed for one wavelength may absorb or scatter another, reducing performance and risking heat damage. Check the coating range and confirm it suits your laser’s operating wavelength. Then compare the lens’s damage threshold with the laser’s power and beam conditions. A higher number is not automatically safer if the beam is tightly focused or pulsed.

Focal length affects both working distance and spot size. A shorter focal length can produce a smaller spot, but it leaves less room between the lens and the workpiece. A longer one offers more clearance, though the spot may grow. Match the clear aperture to the beam diameter, too; clipping at the lens edge can distort the beam. Small details matter. I would also verify thread size, mount compatibility, and the manufacturer’s cleaning guidance before ordering.

Specs can look perfect on paper, yet real alignment and beam quality still affect results. That part is easy to underestimate. Check the lens against the laser manual, then test at appropriate settings and inspect for uneven marking or unexpected heating.

Choosing Suitable Materials and Coatings

7 Tips for Choosing the Best Laser Lens

Choosing Suitable Materials and Coatings

Start with the laser’s wavelength, not the lens’s appearance. Fused silica suits many ultraviolet and visible applications, while other materials may work better in infrared systems. These are not interchangeable choices. Check the lens specifications against the exact operating wavelength and expected power.

Coatings can reduce reflection and improve transmission, but only within their stated wavelength range and use conditions. A coating designed for one wavelength may perform poorly at another. Angle of incidence matters, too. If the beam enters at an angle, confirm that the coating supports it. For pulsed or high-power use, review the specified damage threshold and follow the supplier’s handling guidance.

Dust and fingerprints can absorb energy and create hot spots. Keep the lens covered when it is not installed, and use only cleaning methods approved for its material and coating. I once assumed two lenses with similar specifications could be swapped. That was a poor shortcut. Compare substrate, coating range, beam conditions, and mounting details before fitting a replacement. Small mismatches can affect beam quality, and the specification sheet deserves a second look.

7 Tips for Choosing the Best Laser Lens: Materials and Coatings

Typical wavelength transmission windows of common optical materials

Choose a lens material whose transmission window covers your laser wavelength. Values are approximate and vary with material grade and thickness. Coatings should be specified for the operating wavelength, angle of incidence, and laser power.

Comparing Focal Length and Working Distance

7 Tips for Choosing the Best Laser Lens
Comparing Focal Length and Working Distance

Focal length describes how strongly a lens focuses light. Working distance is the physical gap from the lens assembly to the surface when the beam is focused. They are related, but they are not interchangeable. A lens marked with a 100 mm focal length may focus farther from its front face because of its internal design.

A longer focal length often gives more clearance for tall parts, clamps, or uneven surfaces. It can also produce a larger spot and lower energy density, depending on the beam and lens. A shorter focal length may create a tighter spot, but leaves less room for setup errors. Small details matter. Check the lens specifications, then measure the actual distance from the lens housing to your material.

For a practical comparison, focus on a test piece of the same material and thickness as your work. Mark the position, then move the surface slightly above and below focus. Watch how the cut or engraving changes. This reveals the useful focus range, not just the ideal point on paper. I would not assume the stated focal length predicts the working distance exactly; mounting hardware and lens shape can shift it. Measure, then verify.

7 Tips for Choosing the Best Laser Lens: Comparing Focal Length and Working Distance

Tip What to Compare Practical Guidance Key Trade-Off or Check
1. Define the required field size Focal length and scan or processing area For a given optical system, a longer focal length generally supports a larger working field. Choose a lens that covers the full target area, including any required edge margin. A larger field can increase spot size and may reduce energy density. Confirm usable field dimensions in the lens specification.
2. Match the spot size to the task Focal length, input beam diameter, wavelength, and beam quality A shorter focal length generally produces a smaller focused spot when the incoming beam and other optical conditions are the same. Spot size is not determined by focal length alone. Check the supplier’s calculation or measured spot data for the complete optical setup.
3. Verify the actual working distance Lens reference surface to workpiece distance Use the working-distance dimension on the lens drawing. Do not assume that working distance is exactly equal to focal length. Working distance depends on the lens design and the reference point used in its drawing; mounting hardware can also affect clearance.
4. Allow room for the process Working distance and physical access Choose enough clearance for the workpiece, fixtures, protective window, and any process gas or extraction equipment. A longer working distance can improve access, but may require a longer focal length and can result in a larger spot for the same input beam.
5. Check focus tolerance and depth of field Focus position variation and material height changes If the work surface is uneven or the part height varies, assess whether the focus remains suitable across that range. Consider a shorter focal length when a tighter focus is needed. A tighter focus is generally less tolerant of height variation. Confirm the usable focus range for the intended beam and process.
6. Confirm compatibility with the laser and scanner Wavelength, beam diameter, clear aperture, and optical configuration Check that the lens is specified for the laser wavelength and that the beam fits the lens aperture and the optical system. An unsuitable beam diameter or wavelength can affect transmission, spot size, and usable field, regardless of the stated focal length.
7. Compare specifications using the same reference points Focal length, working distance, field size, and spot-size test conditions Compare lens drawings and test data that use consistent measurement references and comparable input-beam conditions. Nominal focal length alone is not enough to predict the installed clearance or processing result. Validate the final setup on the actual machine.

Note: Focal length and working distance are related but are not interchangeable. Their exact relationship and the resulting spot size depend on the lens design and the rest of the optical system.

Checking Compatibility, Durability, and Care

A laser lens must match the system’s wavelength, beam diameter, focal length, and mounting dimensions. Check the full specification, not just the lens diameter. A lens tested at 1064 nm may behave differently at another wavelength. ISO 21254-2:2011 describes 1-on-1 and S-on-1 methods for measuring laser-induced damage thresholds. These results are commonly stated in J/cm² for pulsed lasers, so compare them using the same wavelength and pulse conditions. Small details matter.

Durability depends on more than the substrate. Ask for coating specifications, damage-threshold test conditions, and notes on humidity or temperature limits. A threshold measured with a 10-nanosecond pulse should not be treated as a guarantee for a continuous-wave beam. I still double-check this point; catalog numbers can look comparable while describing different tests. ISO 10110-7:2017 also provides a framework for specifying surface imperfections, which can help when inspecting scratches or pits.

Care is practical, not complicated. Use a clean bulb blower before wiping; trapped dust can drag across the coating. If residue remains, follow the supplier’s cleaning instructions and use a clean, lint-free optical tissue. Never touch the clear aperture with bare fingers. Store the lens in a dry, covered case, and note any coating damage before reinstalling it. Not every mark is harmless. When in doubt, pause and inspect under angled light rather than polishing harder.