How to Create Stunning Gold Acrylic Laser Cut Designs for Your Projects?
Creating stunning designs with Gold Acrylic Laser Cut materials can transform any project. This process combines creativity with precise technology. Gold acrylic offers an eye-catching shine and elegance, adding richness to your designs. Imagine intricate patterns, personalized signs, or beautiful decorations all shining in gold.
However, achieving perfection requires practice. You might face challenges with alignment or cutting depth. Don't let these issues discourage you; they are part of the learning curve. Each project shapes your skills and understanding of the material. Experimenting with different designs can lead to unexpected yet delightful results.
Gold Acrylic Laser Cut designs can elevate your crafts. Embrace the process, appreciate the imperfections, and let your creativity flow. With patience and persistence, you'll create stunning pieces that reflect your unique style.
Choosing the Right Gold Acrylic Material for Laser Cutting Projects
Choosing the right gold acrylic material is crucial for laser cutting projects. Acrylic sheets come in various thicknesses, colors, and finishes. For gold designs, selecting a high-quality gold acrylic is essential. These sheets often have a shiny surface, giving a premium look to any project. Research shows that well-made acrylic materials increase durability and longevity.
The thickness of the acrylic significantly impacts the cutting process. A common range is between 1/8 inch to 1/4 inch. Thicker sheets might require more power from the laser cutter, which can lead to edge burn and may affect overall design sharpness. According to industry reports, improper thickness selection can lead to up to 30% material waste.
It's also important to consider the protective film on the acrylic. Some gold acrylic sheets come with a protective layer, which should remain during cutting. This film prevents scratches and maintains the sheen. However, this layer must be removed post-cutting, which can sometimes leave residue. Always test a small piece first. Be prepared for imperfections and remember that exploration and adjustment are part of the creative process.
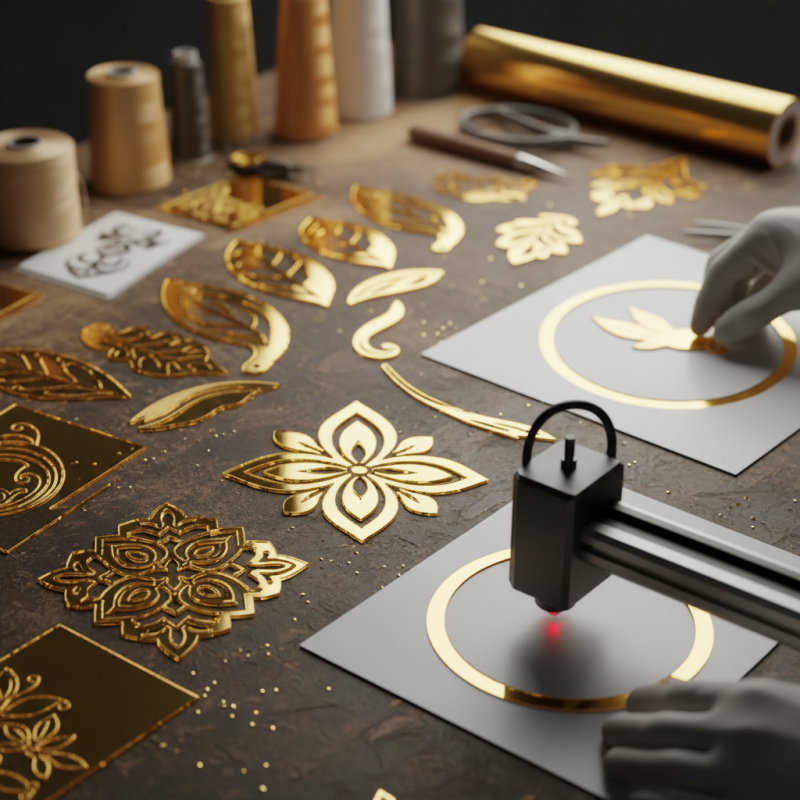
Essential Tools and Equipment for Gold Acrylic Laser Cutting
When working with gold acrylic for laser cutting, having the right tools is vital. The process requires precision and quality. Key equipment includes a laser cutter, which is often CO2-based. According to industry reports, CO2 laser machines account for over 60% of the market for acrylic cutting. This is due to their efficiency and ability to cut intricate designs.
A high-quality vector design software is also necessary. It allows you to create and modify your patterns easily. Many professionals recommend using software that supports layered designs. This can substantially enhance the depth of your final product. Moreover, ensure you have proper ventilation in your workspace, as the cutting process can produce fumes.
Tips: Consider investing in adjustable laser settings. Finding the right speed and power can take time. Experimenting with different settings may yield unexpected results. Also, understand that not all acrylic sheets are equal. The thickness and quality can greatly affect the cutting process. Refining your approach will lead to better designs. Keep track of what works and what doesn’t, as each project brings unique challenges.
How to Create Stunning Gold Acrylic Laser Cut Designs for Your Projects? - Essential Tools and Equipment for Gold Acrylic Laser Cutting
| Tool/Equipment |
Description |
Purpose |
Estimated Cost ($) |
| Laser Cutting Machine |
A machine that uses a laser to cut materials. |
Creating precise cut designs in acrylic. |
2000 - 5000 |
| Computer Software |
Software used for designing and preparing files for cutting. |
Creating and exporting design files for the laser cutter. |
300 - 1000 |
| Gold Acrylic Sheets |
Acrylic sheets with a polished gold appearance. |
Material for creating designs. |
50 - 150 per sheet |
| Protective Gear |
Safety equipment like goggles and gloves. |
To ensure safety while operating the laser cutter. |
20 - 100 |
| Cleaning Supplies |
Wipes and cleaners for acrylic materials. |
Maintaining the quality of finished pieces. |
10 - 50 |
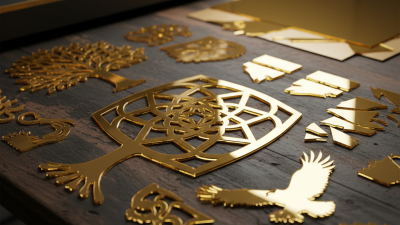
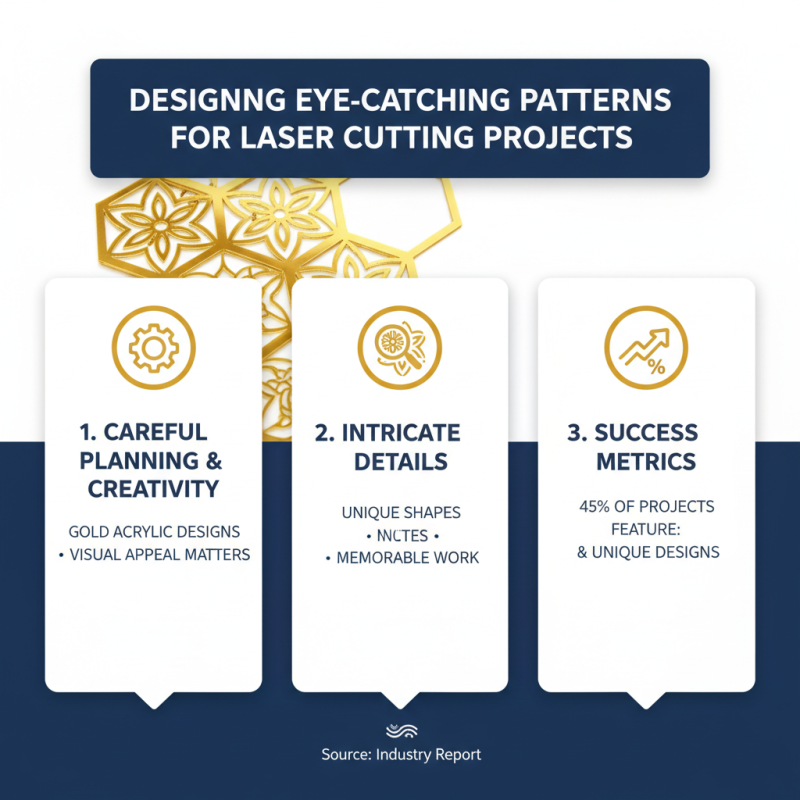
Designing Eye-Catching Patterns for Laser Cutting Projects
Creating captivating gold acrylic laser cut designs requires careful planning and creativity. When designing patterns for laser cutting, visual appeal matters. According to a recent industry report, 45% of successful projects emphasize intricate details and unique shapes. These features draw attention, making your work memorable and engaging.
Consider combining geometric patterns with organic shapes. This fusion attracts diverse audiences. It’s crucial to remember that balance is key in your designs. A report by the Design Council notes that 70% of successful layouts maintain a visual equilibrium. Experimenting with different combinations might sometimes lead to unexpected outcomes. Not every design will resonate. Some may need revisiting.
As you delve into your projects, be mindful of the materials used. Gold acrylic adds a luxurious touch, yet it can be tricky to work with. Laser cutting can produce varying results based on settings and material thickness. Reflect on your past projects. What worked? What didn’t? This evaluation guides future designs. Embrace imperfections; they can lead to unique, innovative results.
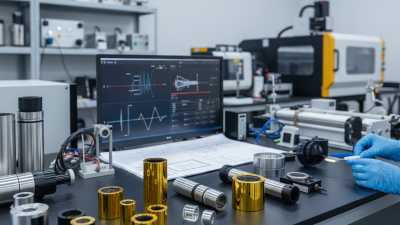
Step-by-Step Process for Laser Cutting Gold Acrylic
Creating stunning gold acrylic laser cut designs requires precision and attention to detail. The process begins with selecting high-quality gold acrylic sheets, typically around 0.5 to 3 mm thick. According to industry data, laser cutting machines can achieve a precision level of 0.1 mm, making it essential to use the right settings for your project.
Next, design your artwork using appropriate software. Ensure that your design is clean and free of unnecessary details. Even a small mistake can ruin the piece. Loading the file into the laser cutter will require careful calibration. Mistakes here can lead to uneven cuts or burns on the edges, affecting the overall appearance.
Once the setup is complete, execute a test cut on a scrap piece. This trial run helps refine the settings. Industry surveys report that up to 18% of cuts can fail due to improper machine calibration. Being part of this statistic is frustrating, so precision at this stage is crucial. After adjustments, cut the final design, but remain vigilant. After cutting, inspect each piece. Some edges may need sanding to achieve the perfect finish.
Laser Cutting Gold Acrylic Design Volume Over Time
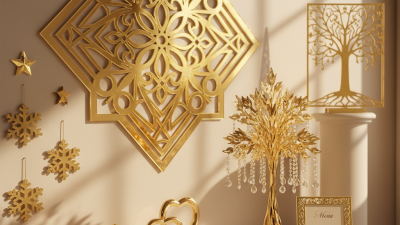
Finishing Touches: Painting and Sealing Your Laser Cut Designs
Painting your gold acrylic laser cut designs can enhance their beauty and durability. Start by choosing the right type of paint. Acrylic paint works well, but always test a small area first. This helps ensure adhesion and finish. Use a fine brush for detailed areas. A spray can also provide a smooth, even coat. Remember to work in thin layers. It allows better control and prevents drips.
Sealing your designs is equally essential. A clear acrylic sealer protects against scratches and fading. Consider using a matte or glossy finish based on your preferred look. Apply the sealer in a well-ventilated area. It ensures even coverage and prevents bubbles. Make sure your paint is completely dry before sealing. This step often gets overlooked, but it’s crucial for a lasting finish.
When adding gold accents, consider layering techniques. Experiment with different finishes or textures. Sometimes the result may not meet your expectations. That’s okay! Reflecting on what went wrong can lead to improved techniques in the future. Every project is a learning opportunity. Visualize your final design to keep motivation alive.